Chapter 01
Words in Action
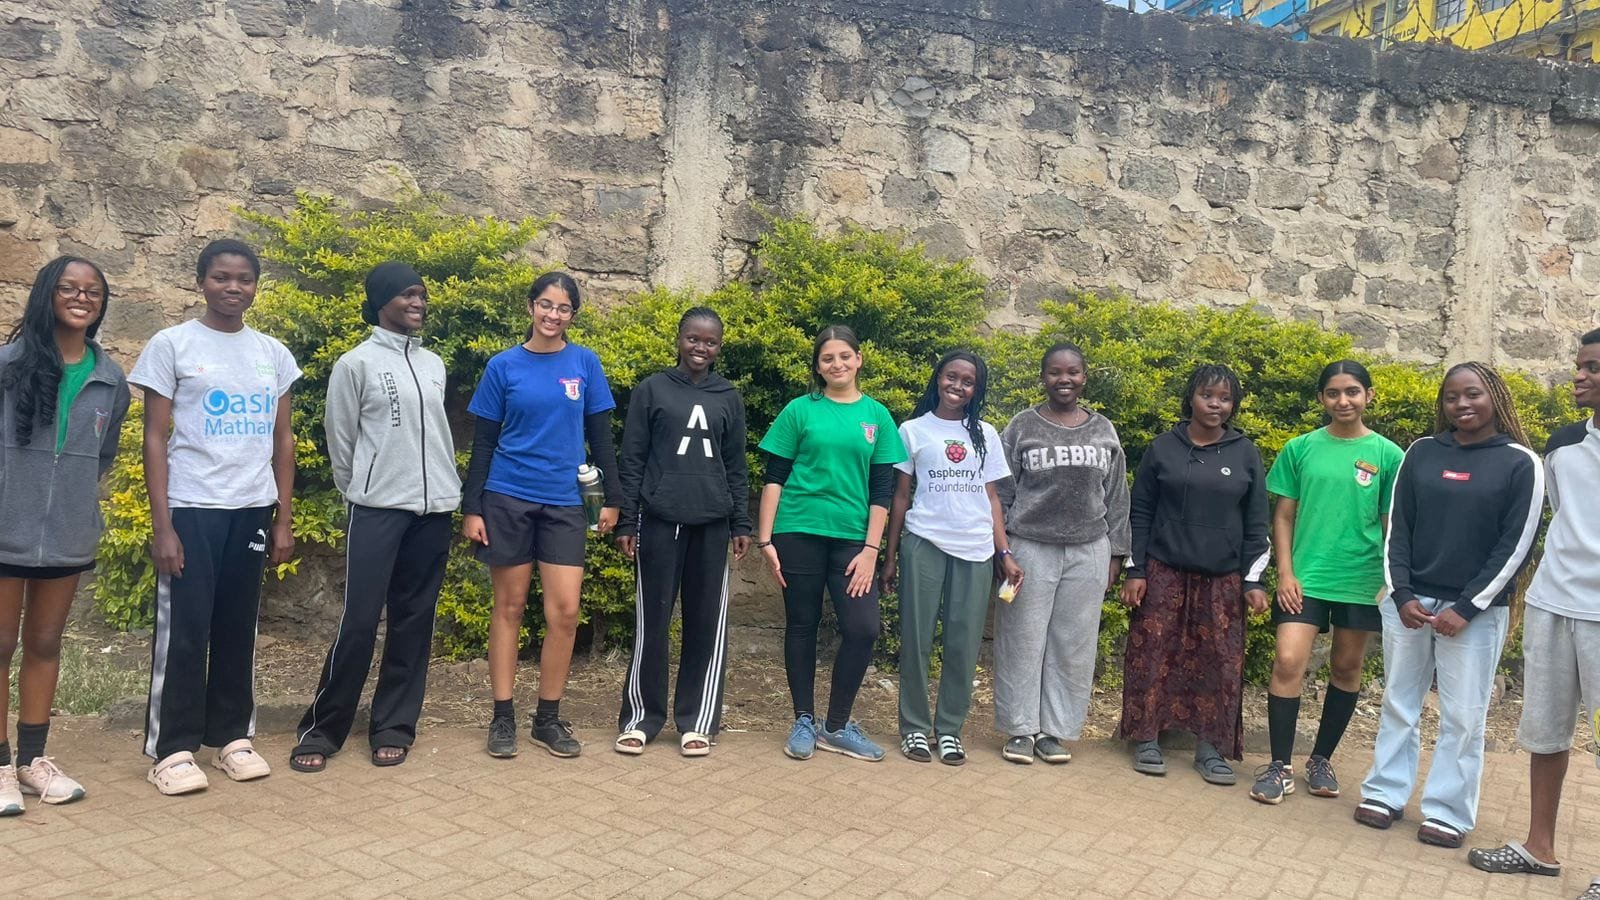
Before any of the writing below, here is the project actually happening.
Four clips, filmed as we went. Nothing staged and nothing reshot — the school talk, the day we learned from Shamba Connect, introducing the project to Oasis, and the thank-you at the end of it.
Chapter 02
From Waste to Growth
We had two problems facing each other: plastic with nowhere to go, and gardens with nothing to grow in.
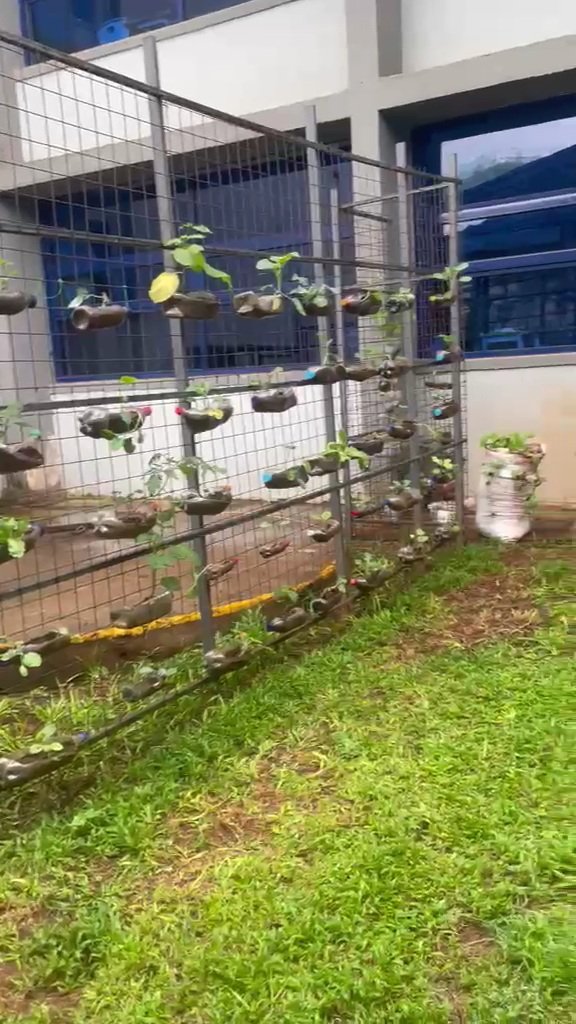
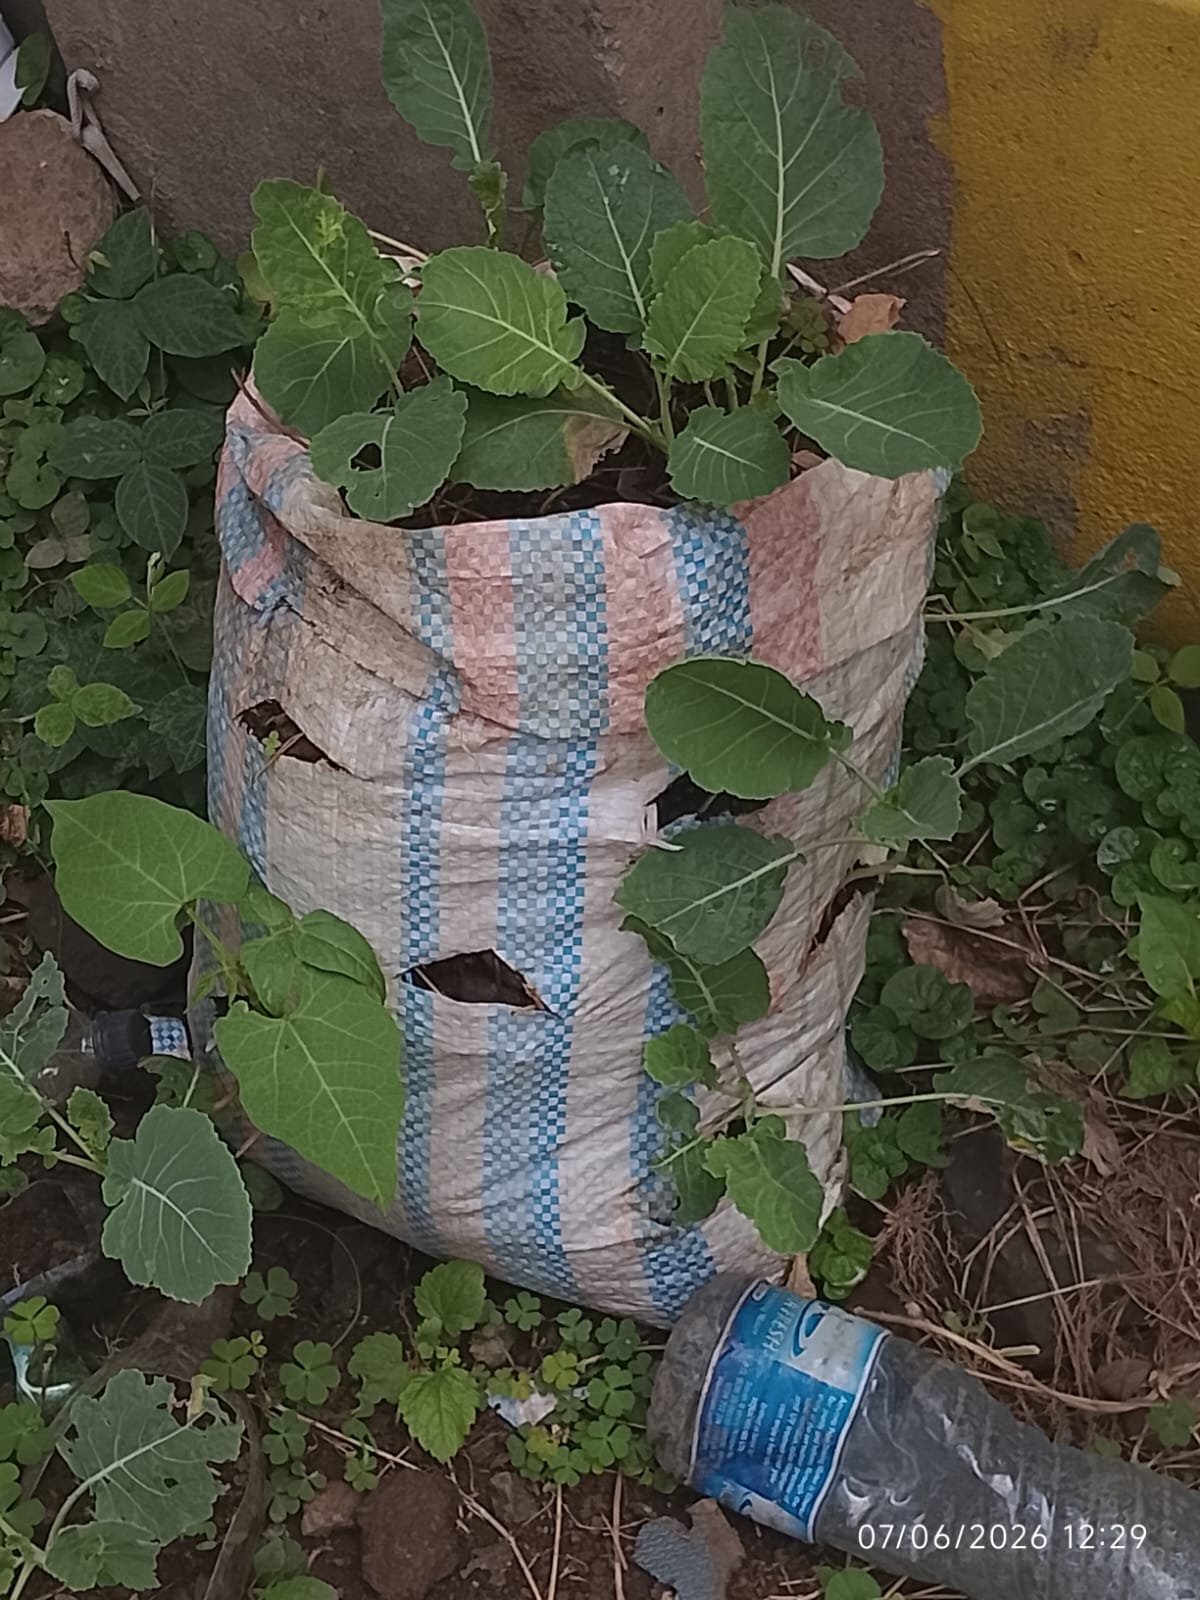
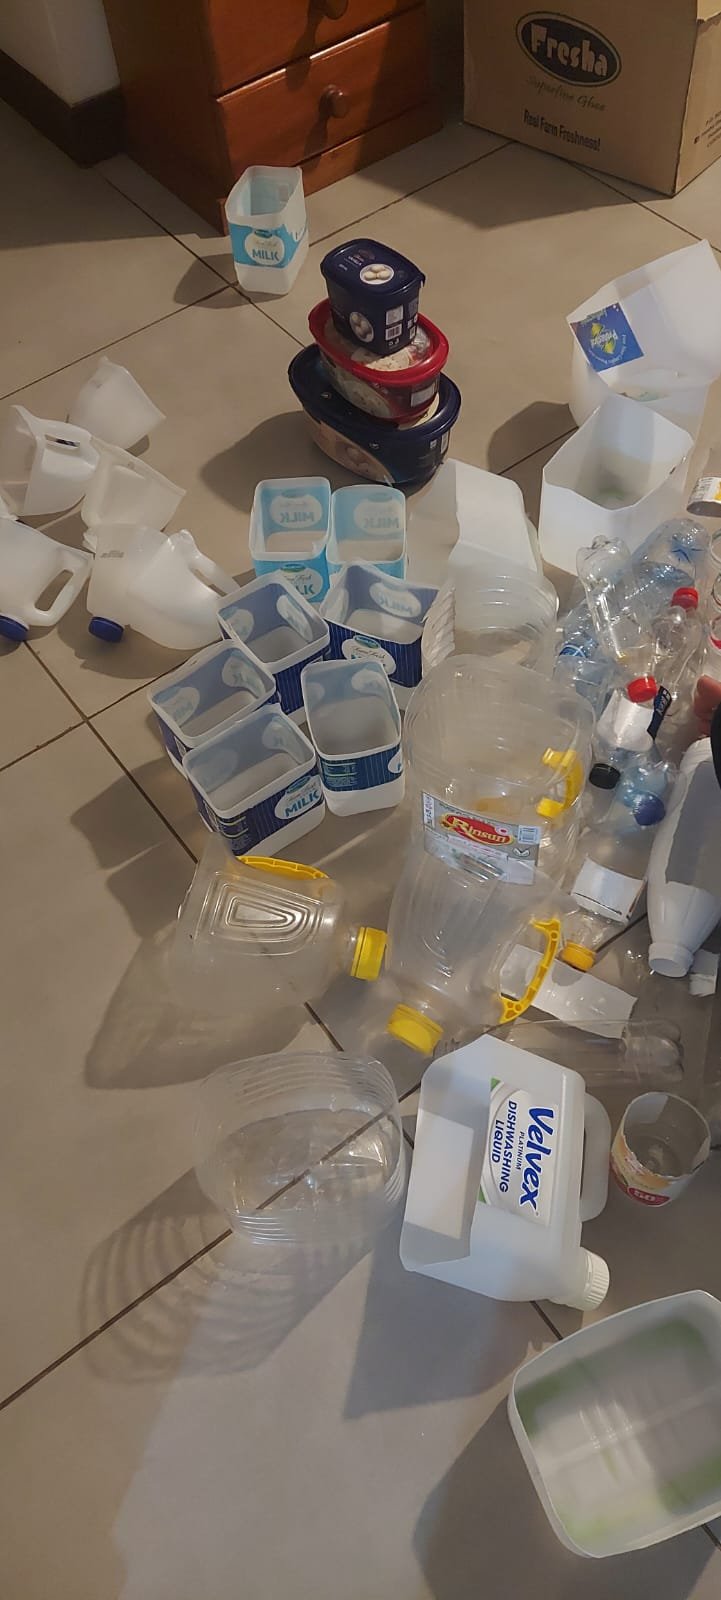
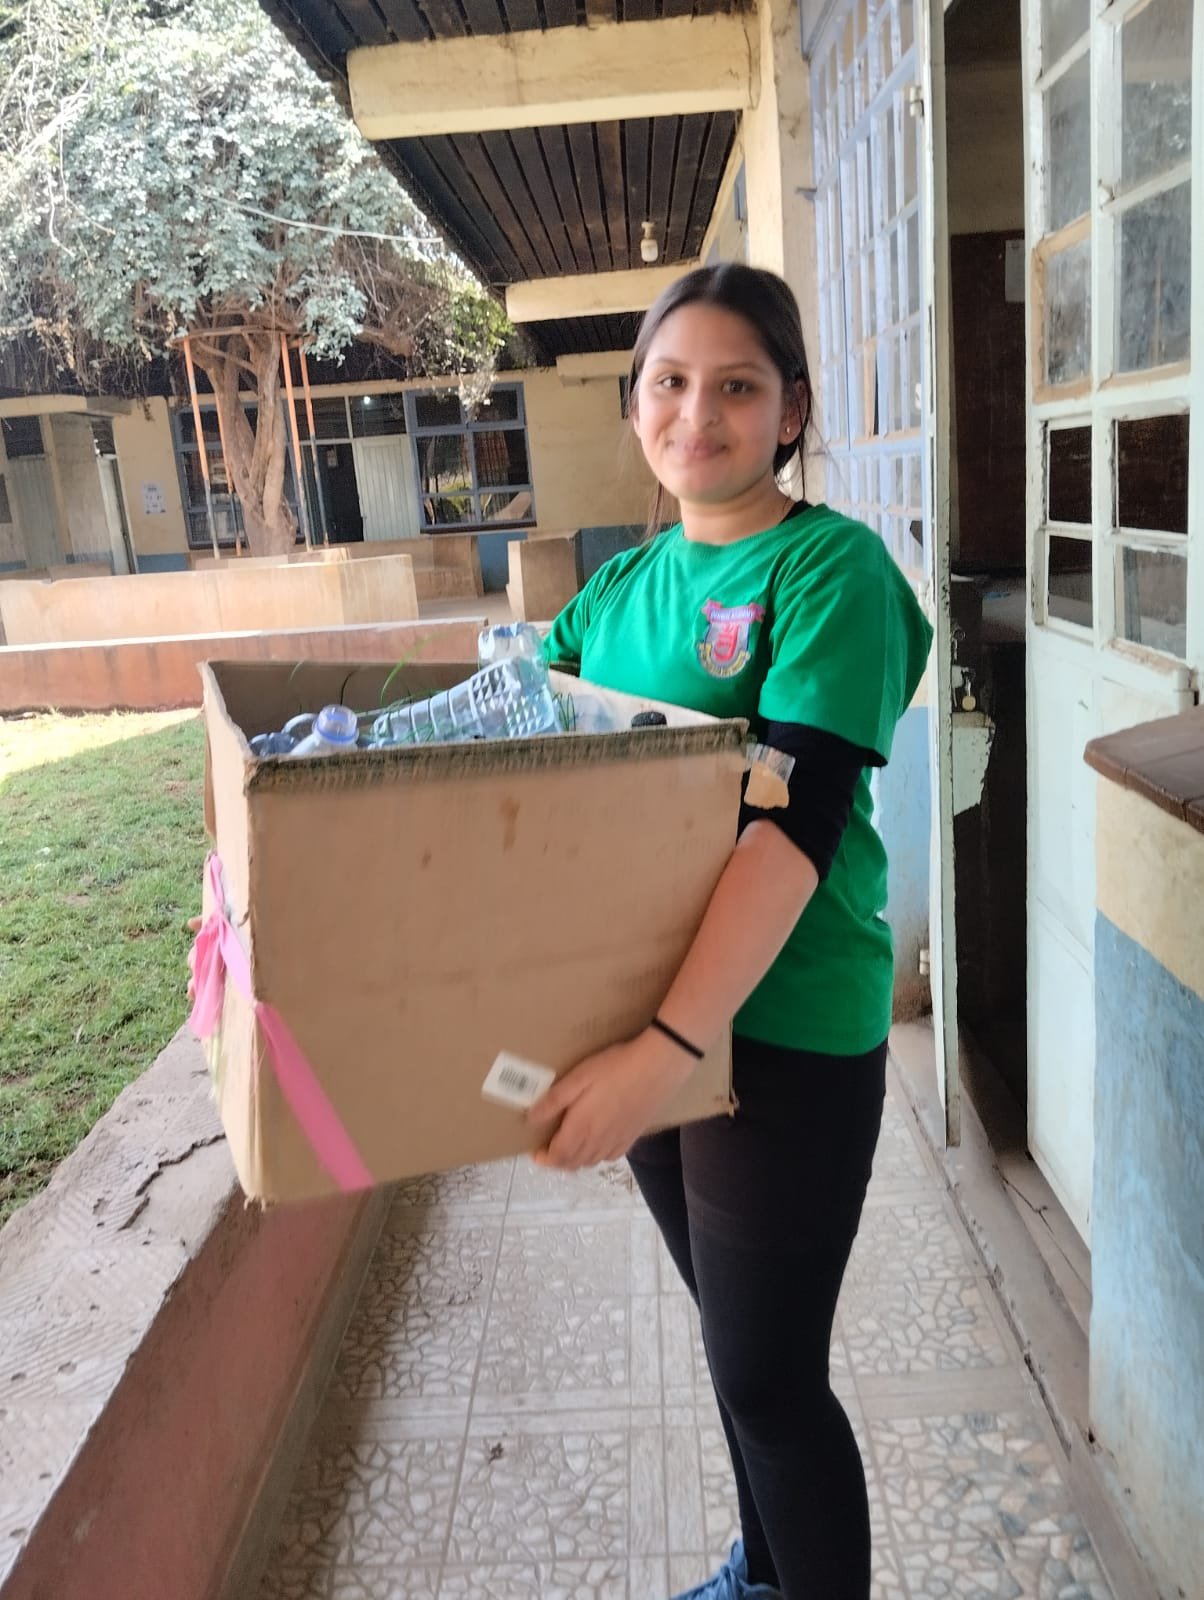
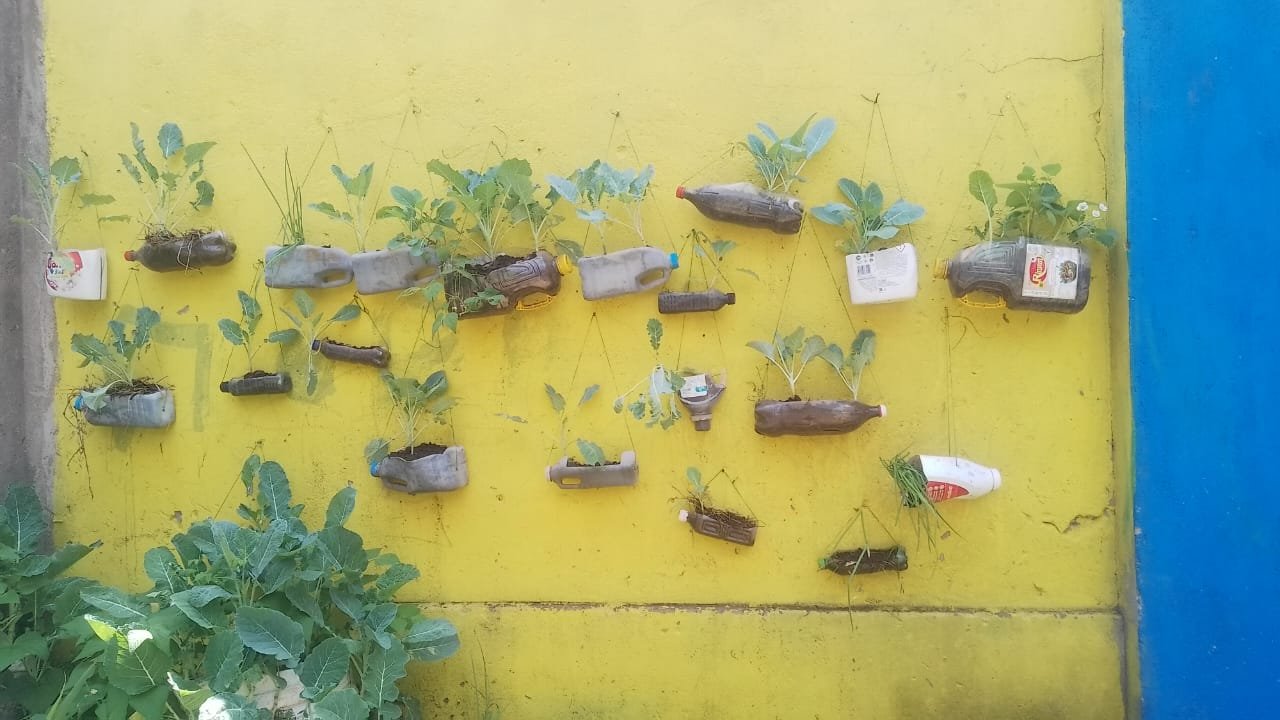
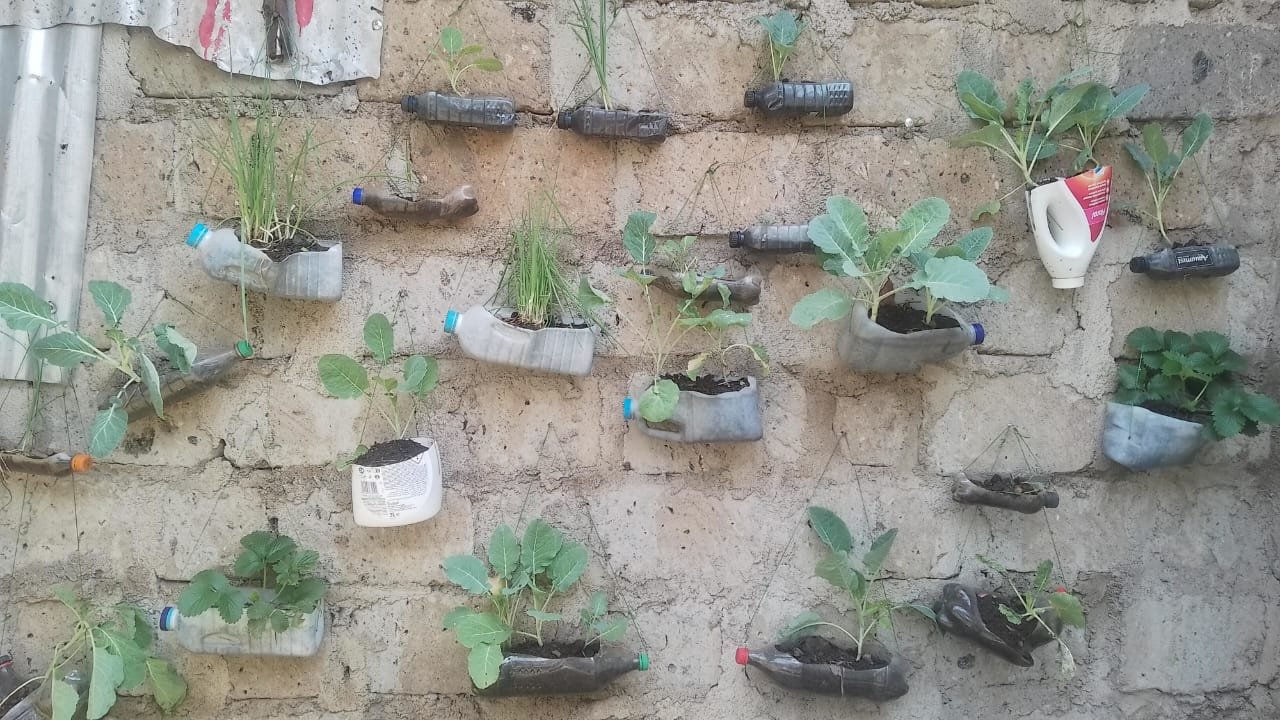
We asked classmates, families and neighbours to stop binning their plastic bottles and start saving them for us. A bottle that would have spent decades in a dump site costs us nothing and holds soil perfectly well. That is the whole trick. Every planter on this page was rubbish a week earlier.
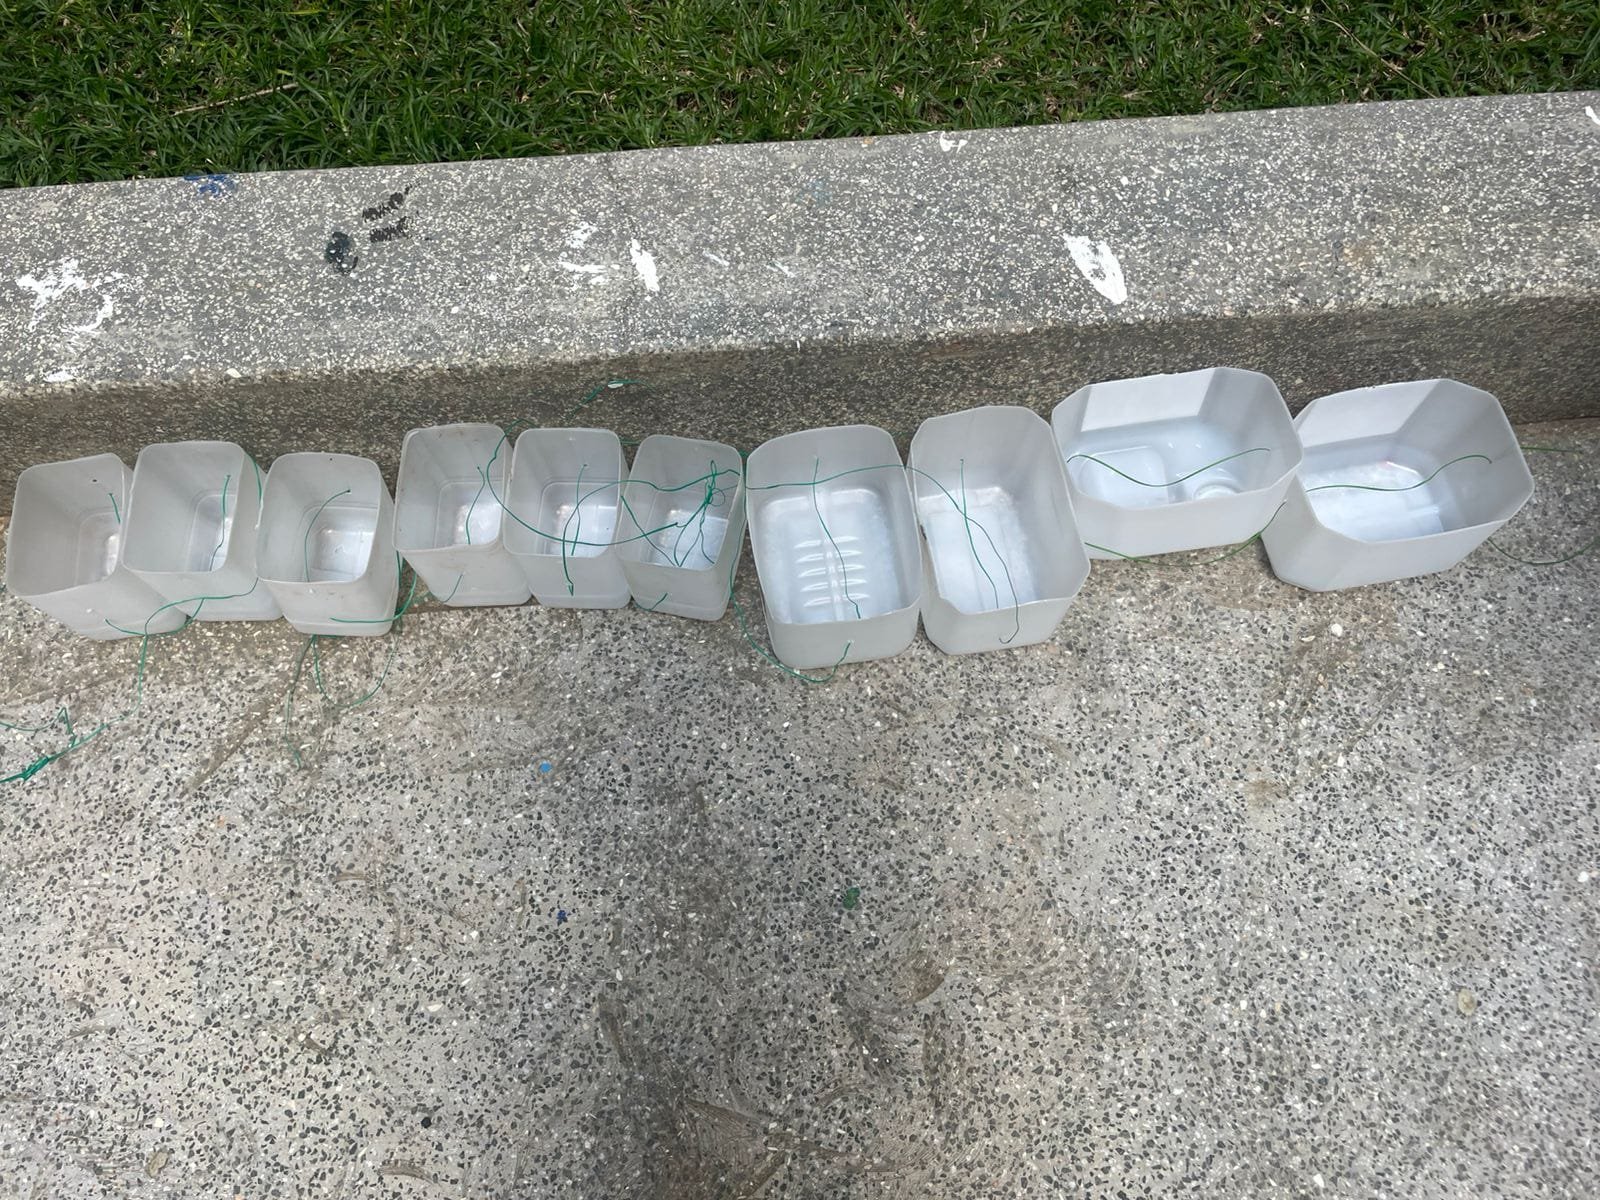
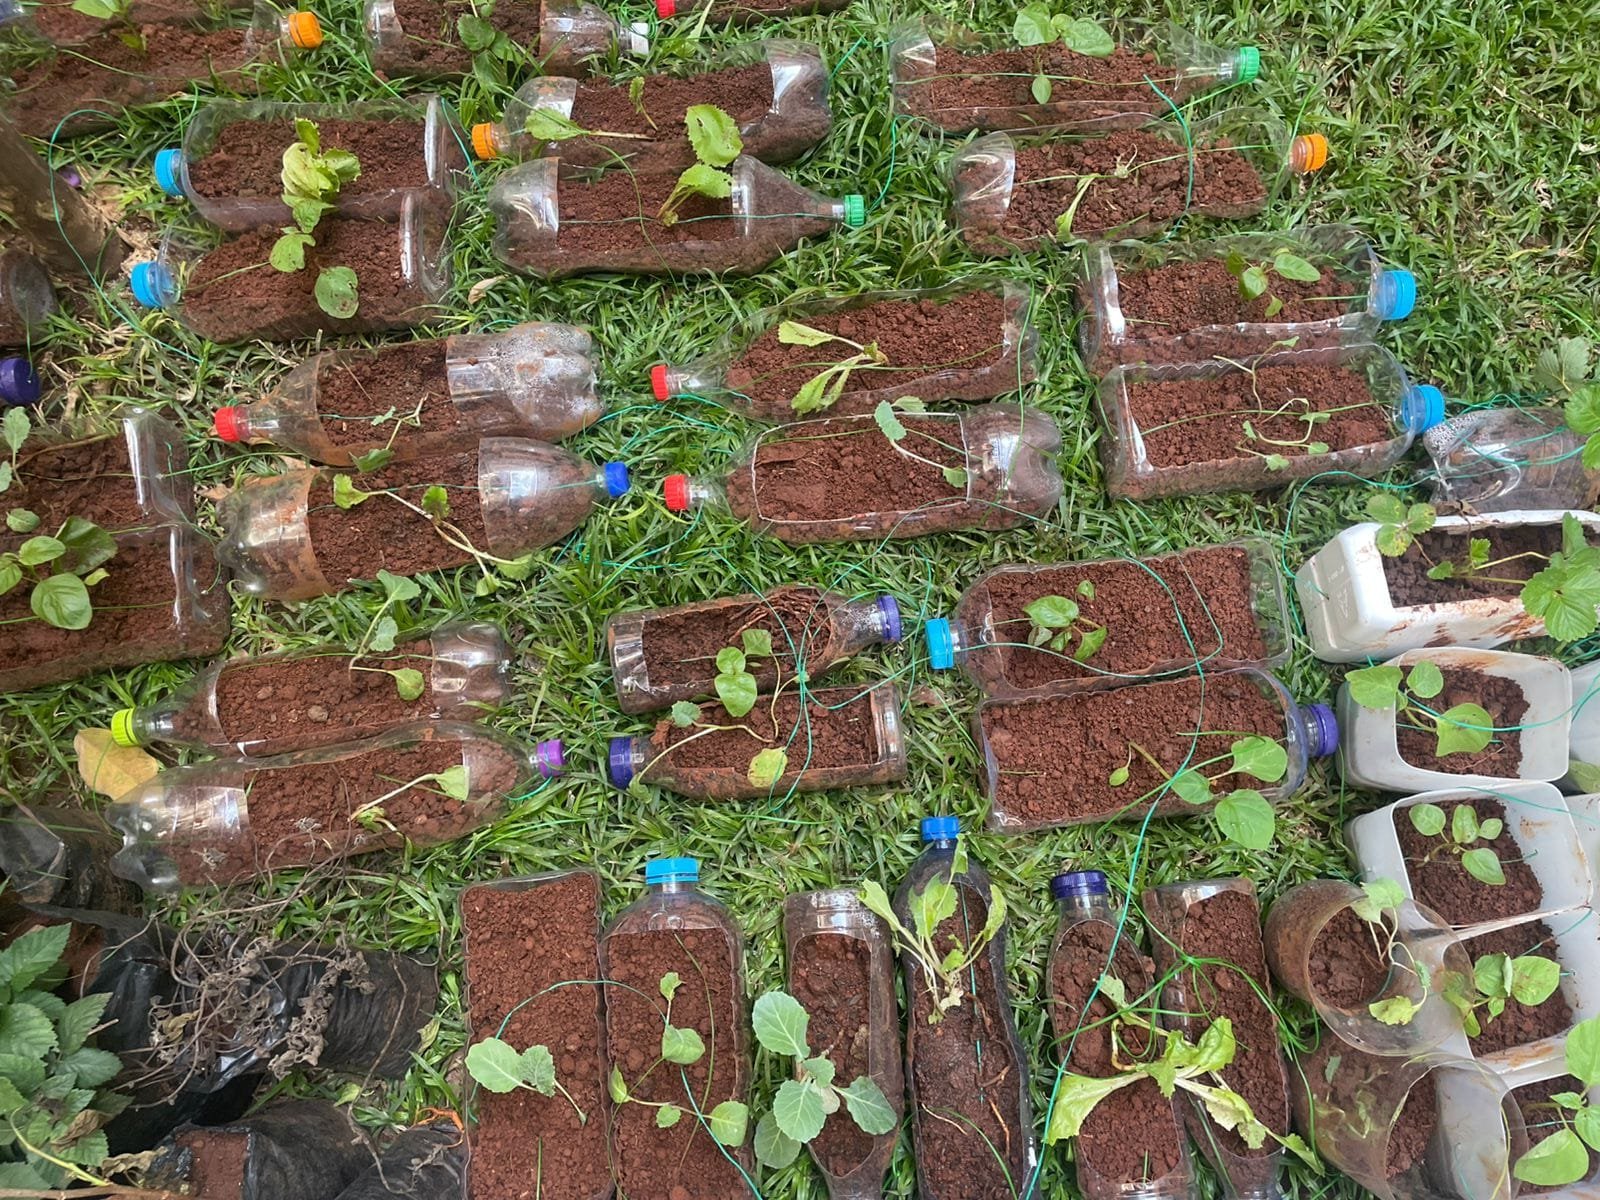 Before
After
Before
After
Chapter 03
Preparing for Planting
Turning a bottle into a planter takes about six minutes once you know the order. This is the order we settled on, after wasting a few bottles.
-
Wash them properly
Scrub inside and out with soapy water, peel the labels off and rinse. Anything sugary left inside brings ants and mould straight to the roots.
-
Cut them open, carefully
Mark the opening first, then cut. An adult handles the blade or makes the first puncture.
-
String them up
Two holes near the neck, sisal twine through both, and the bottles hang in a row. Hanging them means we use wall space instead of ground we do not have.
-
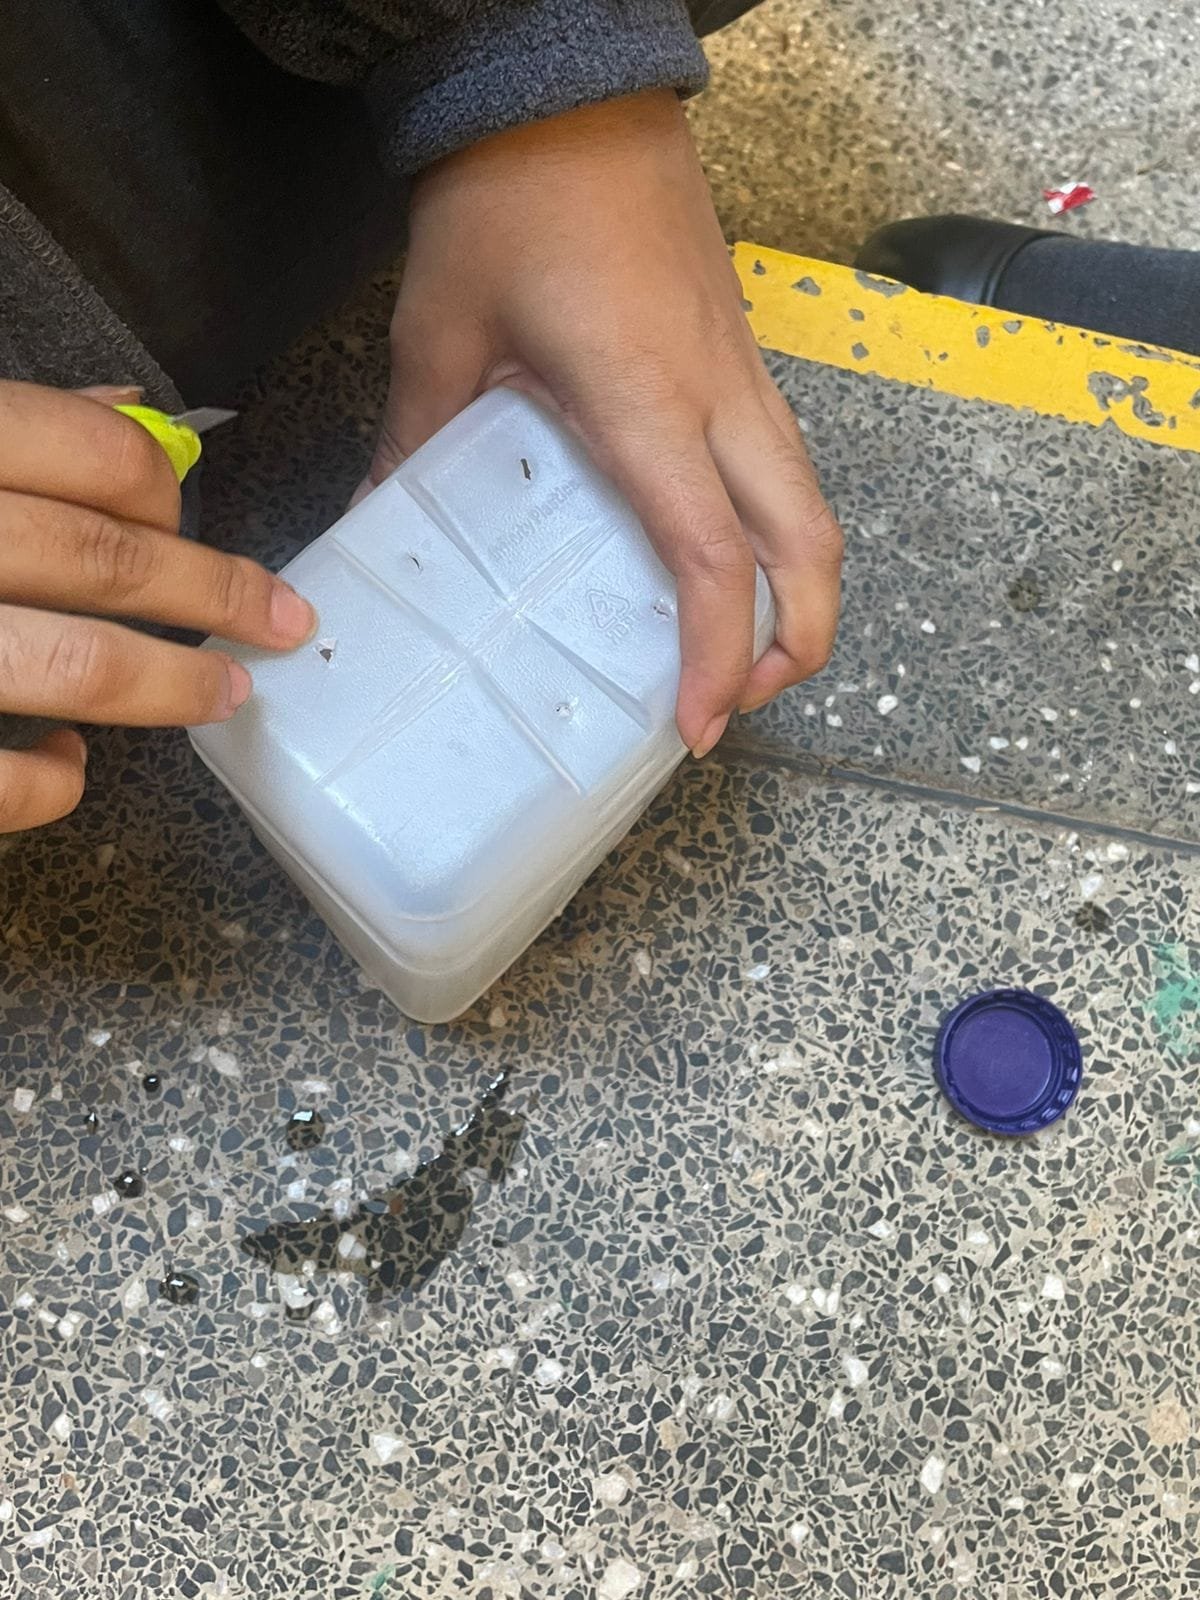
Make drainage holes
Four to six small holes in the underside. This is the step people skip, and it is the step that drowns the plant. Water has to be able to leave.
-
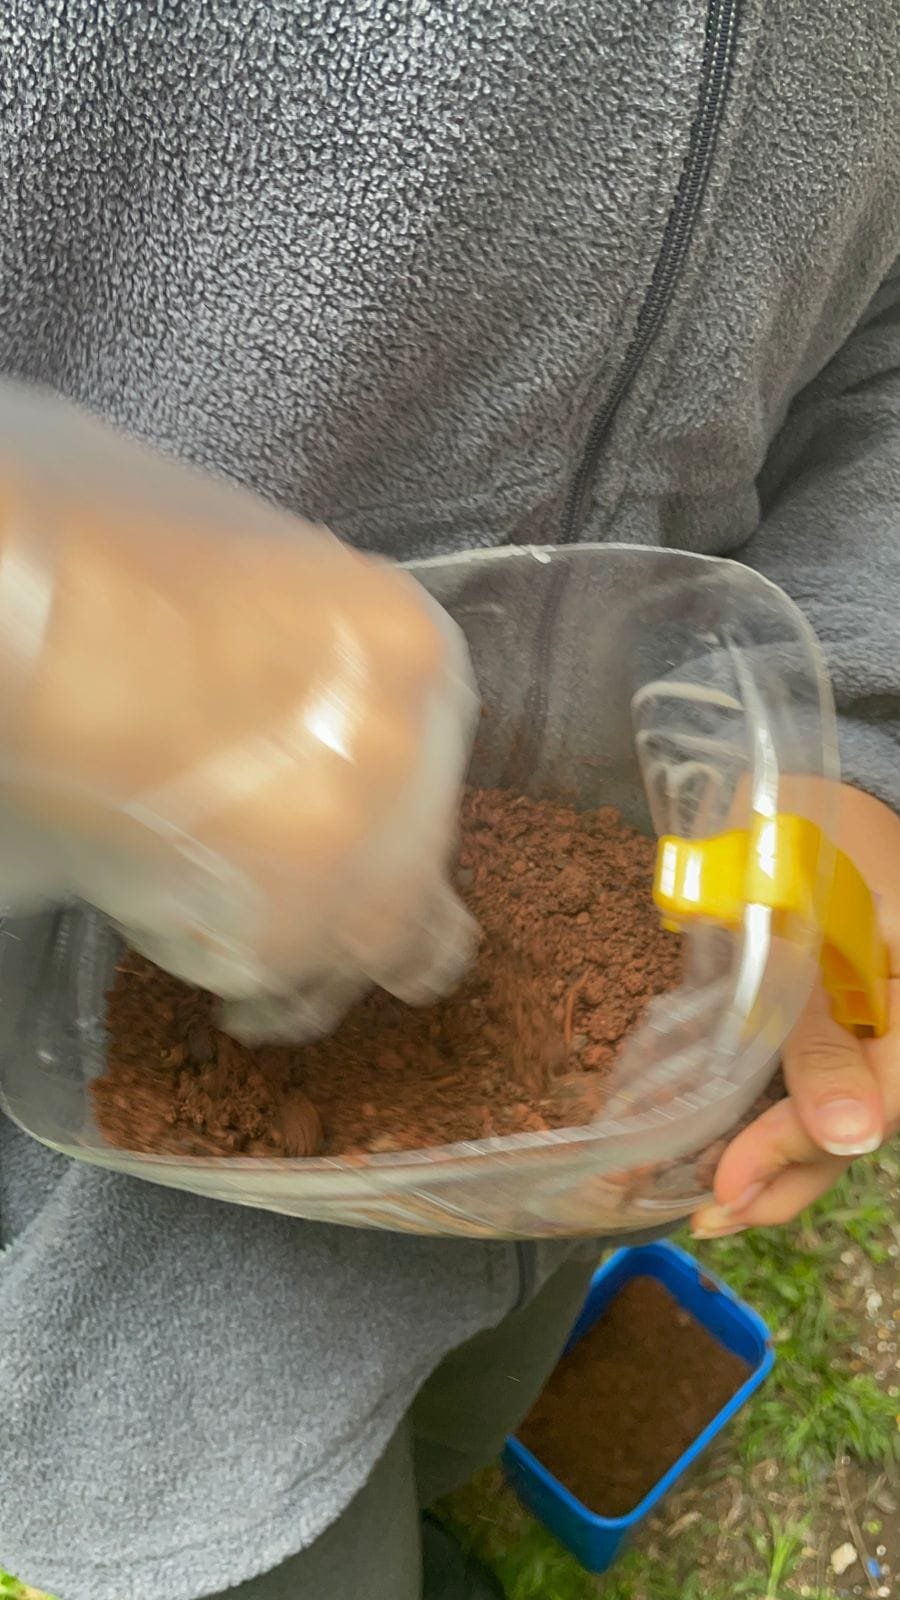
Fill with the right soil
Topsoil mixed with compost, roughly two to one, loose enough to squeeze. Leave about two centimetres at the top so watering does not wash soil out.
Chapter 04
Starting With Seedlings
Bottles were free. Seedlings were not — so we asked.
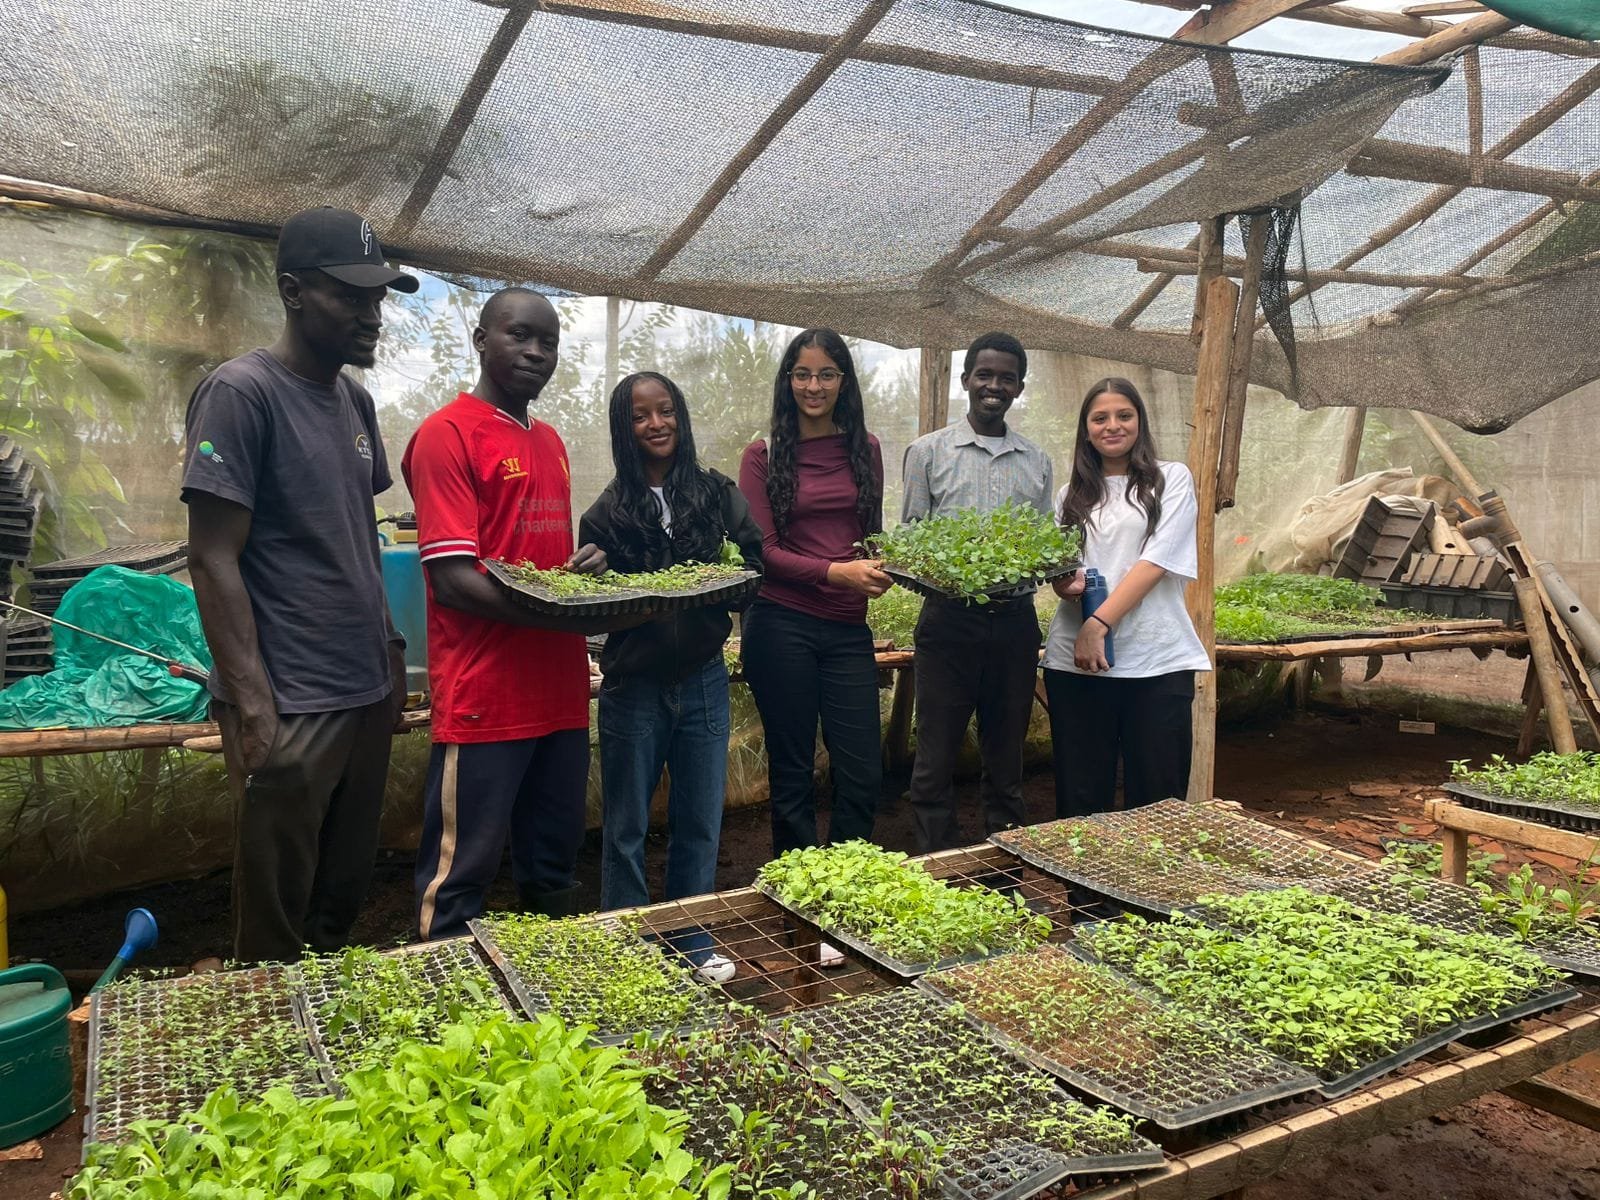
We partnered with a local nursery and a few supporters who donated seedling trays and gave us advice we did not have. They also told us, politely, which of our first choices would never survive in a bottle.
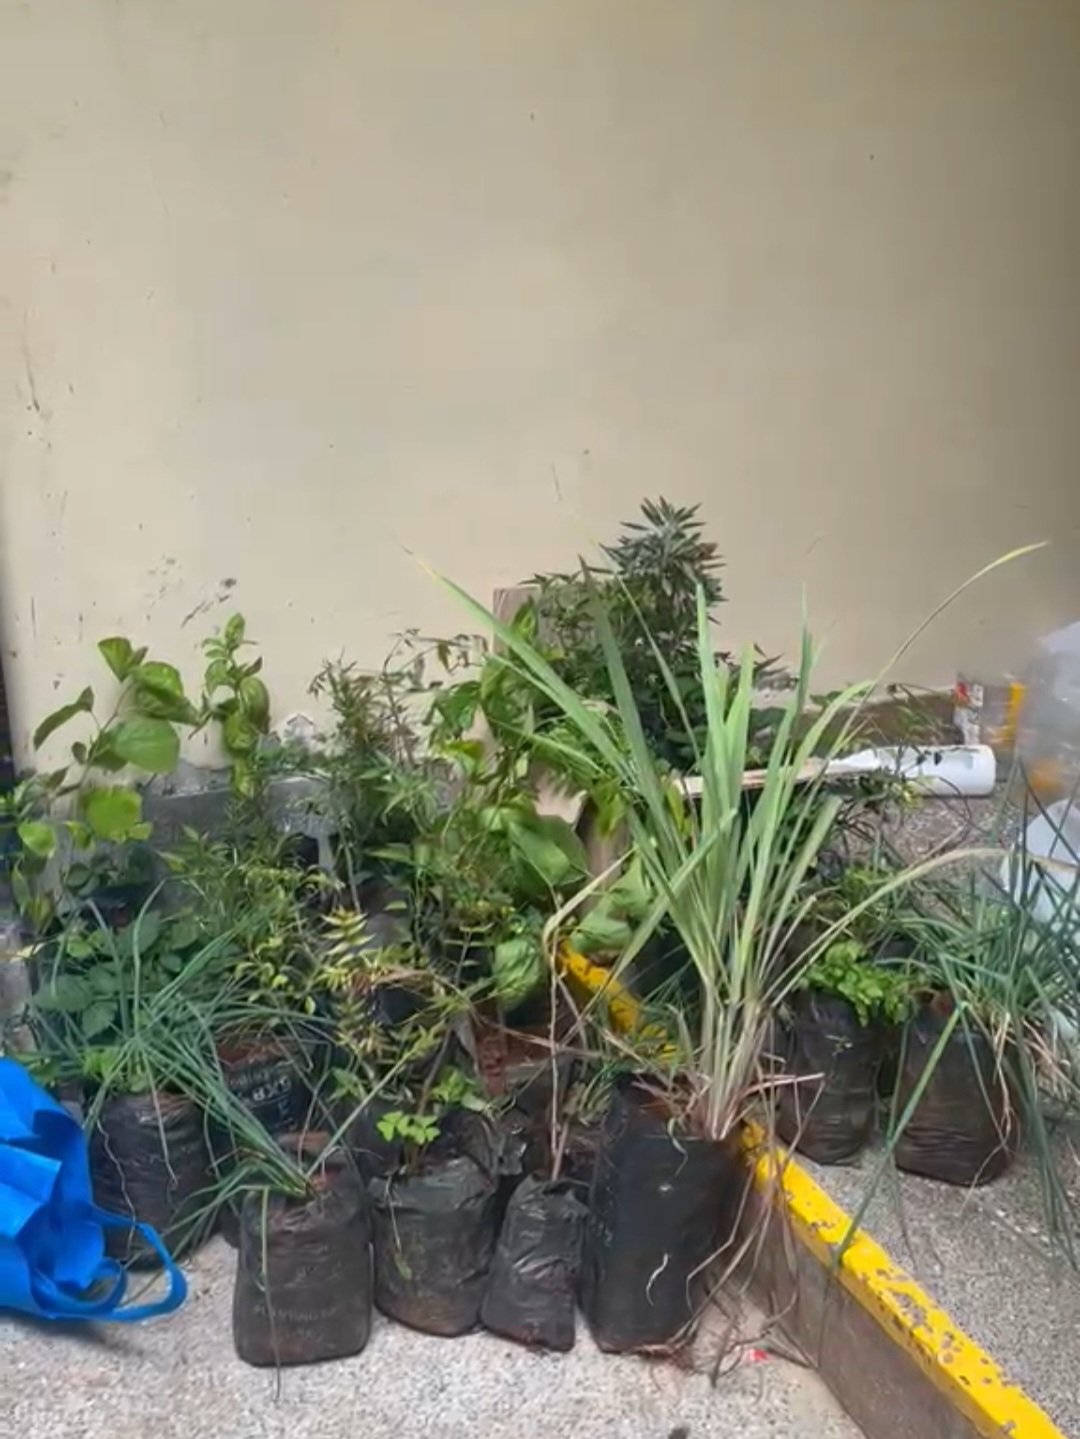
We did not pick crops by what we like eating. We picked by what tolerates a shallow container, part shade, and a school holiday with nobody around to maintain it.
-
Kale (sukuma wiki)
Shallow roots, harvest leaf by leaf for months, and one of the cheapest sources of iron and vitamin A we can grow.
-
Spring onions
Ready fast, regrows from the base, and adds flavour to food that would otherwise be plain. Quick wins keep people interested.
-
Strawberries
Partly grown to keep the younger children interested. It worked — they check the strawberry bottles first every morning.
-
Spinach
Grows quickly from seeds in cool conditions and needs moist, well-drained soil. Its leaves can be harvested while the plant continues growing.
-
Lettuce
Grows best in cool weather from seeds and needs regular watering. The leaves form a loose or compact head depending on the variety.
-
Blueberries
Grow on long-lasting bushes and need acidic, well-drained soil. They take longer to establish before producing many berries.
-
Chilies
Grow on small, warm-weather plants from seeds. They need plenty of sunlight and eventually produce flowers that develop into chilies.
-
Mulberries
Grow on trees and produce berries after flowering. They need sunlight and can take a few years to become well established.
Chapter 05
Planting the Future
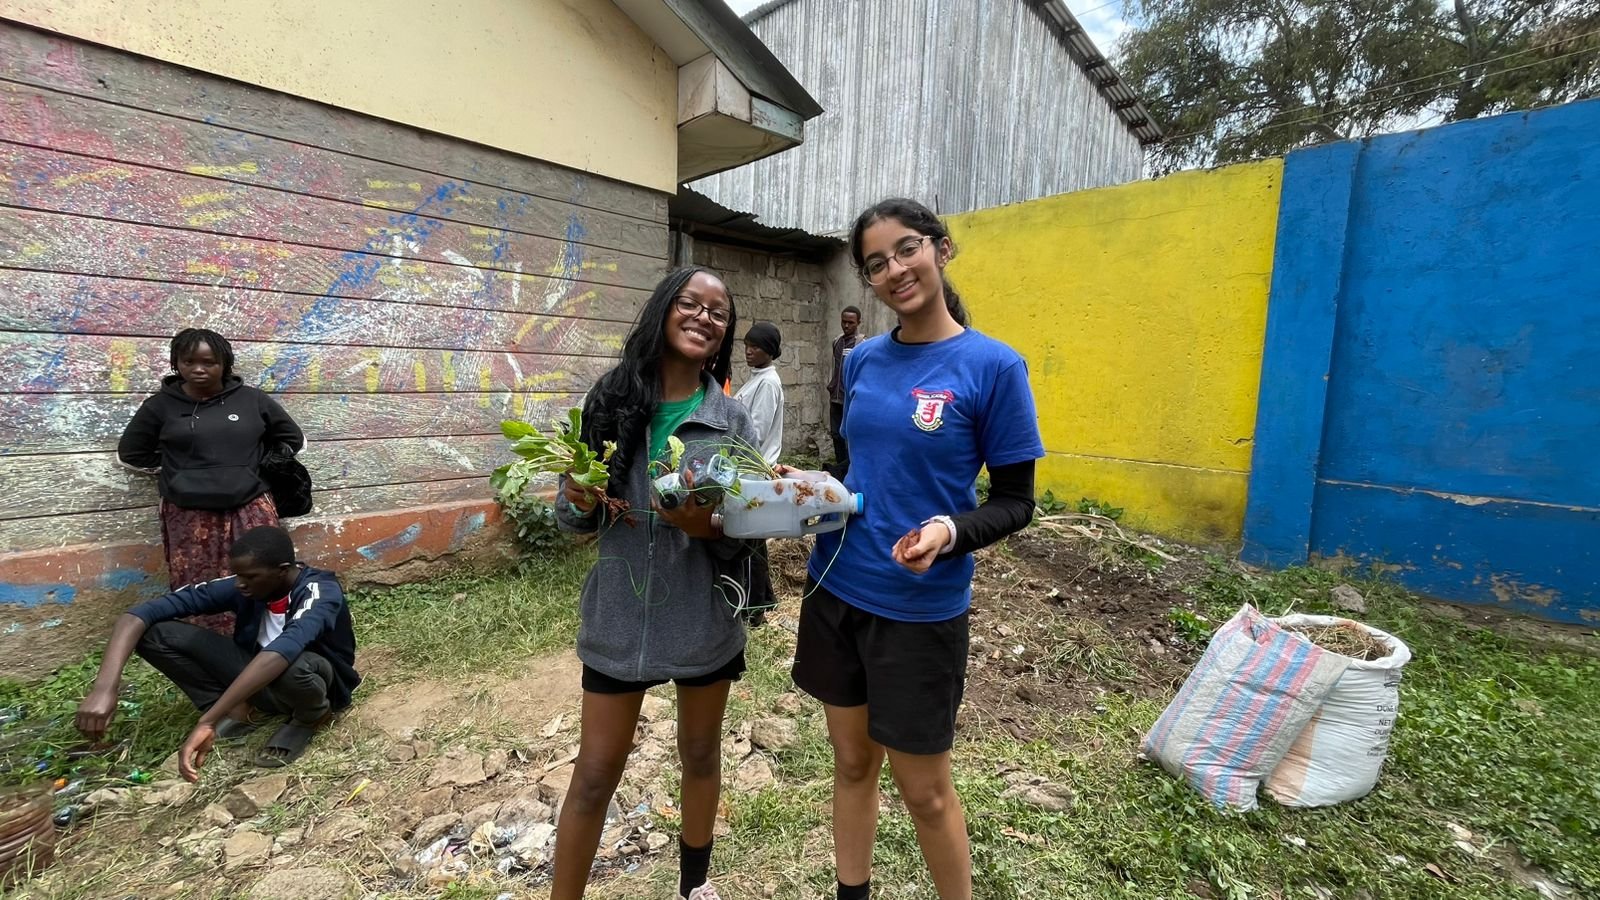
Planting day was loud, muddy, and the best day of the project so far.
Each seedling went into its bottle roots first, soil pressed in gently around the stem, then watered straight away so the soil settles against the roots instead of leaving air pockets.
We hung the rows on the east-facing wall, where they get direct morning sun and shade through the hottest part of the afternoon. Bottles sit a hand's width apart, and the rows are staggered so an upper bottle does not stand in the light of the one below it.
Chapter 06
Watch Us Grow
Planting takes one afternoon. Keeping things alive takes every week after that, and it is where most school gardens quietly die.
So we wrote the care work down and put names against it. This is the actual rota from our noticeboard.
| How often | What we do | Why it matters |
|---|---|---|
| Every morning | Water lightly, before the sun is high | Bottles are small and dry out fast; midday water mostly evaporates |
| Every morning | Look under the leaves | Aphids and whitefly hide there and are easy to stop early |
| Twice a week | Pull weeds out by hand | In a bottle, a weed drinks the water the crop needed |
| Weekly | Measure and photograph one marked bottle | Growth is slow to notice, and obvious in two photos side by side |
| Monthly | Top up compost, check drainage holes | Holes block, soil compacts, roots suffocate |
Chapter 07
Growing Food, Growing Knowledge
The name is Balanced Bites for a reason. Growing kale is only half of it — knowing why the kale belongs on the plate is the other half.
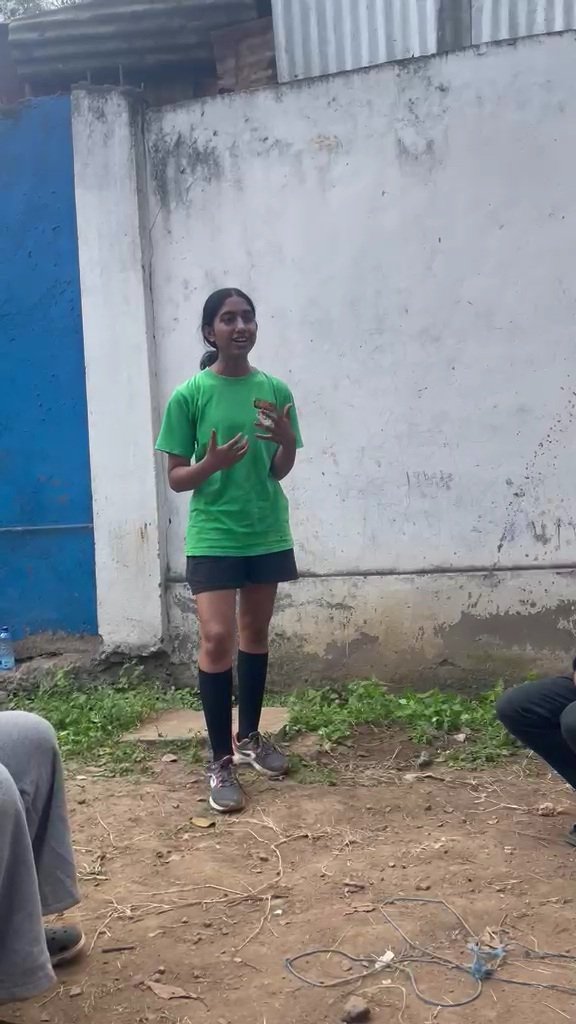
Alongside the garden we run short talks, ten minutes at a time, on what a balanced plate actually looks like. Six things, none of them expensive.
-
Fruit & vegetables
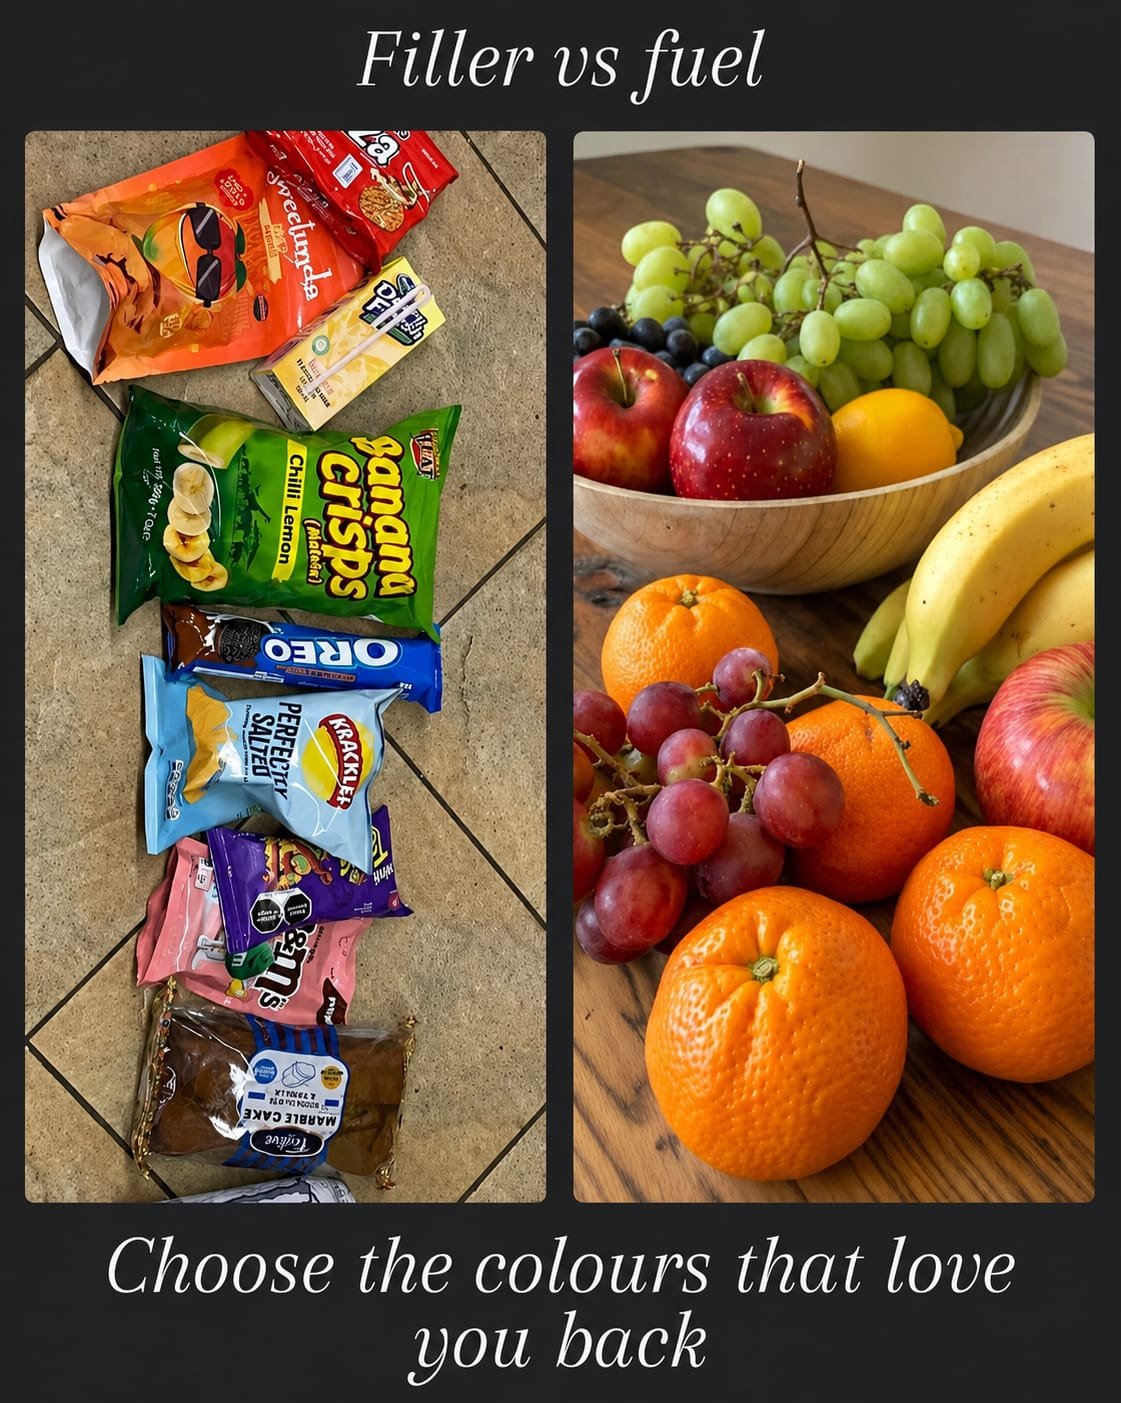
The largest share of the plate. Colour is a rough guide — the more colours across a week, the wider the range of vitamins.
-
Proteins
Beans, lentils, eggs, fish, meat. Growth, repair and immunity. Beans do much of the same job as meat for a fraction of the price.
-
Carbohydrates
Ugali, rice, potatoes, bread. The fuel. Whole-grain versions release energy slower and keep you full for longer.
-
Healthy fats
Groundnuts, avocado, seeds, cooking oil in sensible amounts. Fat is not the enemy; it is how the body takes in vitamins A, D, E and K.
-
Vitamins & minerals
Iron, calcium, vitamin A, vitamin C. Mostly they arrive with the vegetables — which is exactly the part that gets dropped first.
-
Water
Free, forgotten, and needed for every single process above. Clean water beside the food, not sugary drinks instead of it.
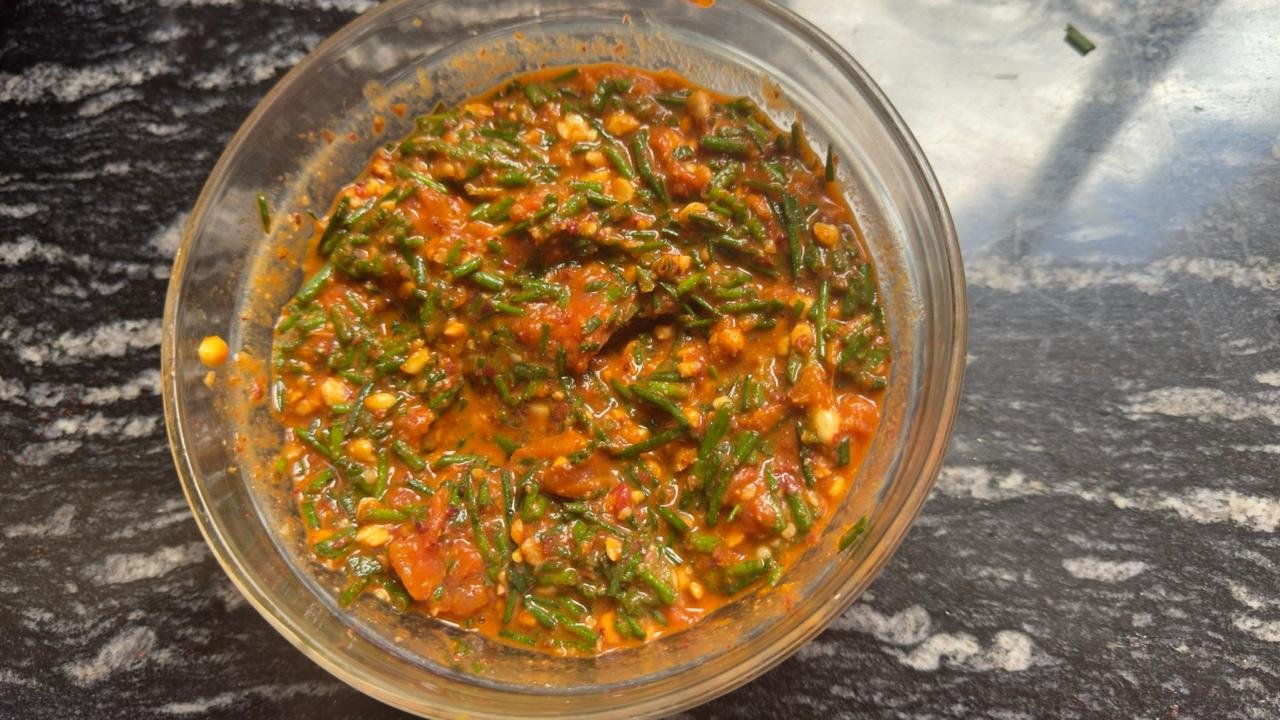
One thing we learned the hard way: growing a vegetable does nothing if it is then boiled to death. Half of our nutrition talk is now about cooking greens briefly, in a little water, with the lid on.
Chapter 08
Growing Beyond Ourselves
A wall of bottles at our own school proves the idea works. It does not help anybody else until we hand it over.
Balanced Bites exists to help schools and orphanages feed themselves a little more and buy a little less. We bring the bottles, the method and a first set of seedlings; they keep the garden.
Fresh produce, on site
Vegetables picked the same day they are cooked, from a wall a few steps from the kitchen.
Food that keeps producing
Kale and spring onions are cut-and-come-again. One planting feeds for months, not once.
Less spent on produce
Every bunch grown on the wall is a bunch nobody has to buy or wait on.
A skill that transfers
Children who can prepare a bottle, plant it and keep it alive can do it at home too — and most of them do.
Plastic out of the stream
Bottles that would have been burned or dumped end up holding food for a year or more.
Chapter 09
By the Numbers
Where the project stands today.
- 250Bottles collected
- 175Seedlings planted
- 65Children reached
- 9Crop varieties growing
Chapter 10
What Comes Next
The plan from here is simply to have more walls look green in urban areas, run by people who are not us.
- Reach more schools and orphanages — one full handover at a time, rather than many half-finished ones.
- Set up larger urban farms where there is ground to use, not only walls.
- Put permanent bottle collection points in more neighbourhoods.
- Write the whole method into a one-page guide anybody can follow without us.
- Train a student team at each partner site, so the garden survives when we leave.
- Add a rainwater barrel, so the watering round stops depending on the tap.
Want to help?
Bottles, seedlings, soil, twine and time are all useful. So is a wall.
Contact us → About us Oshwal Academy